The goal here was to design and make custom candles using 3D printed molds. I’ll share my setup and key learnings that I didn’t find elsewhere.
Setup
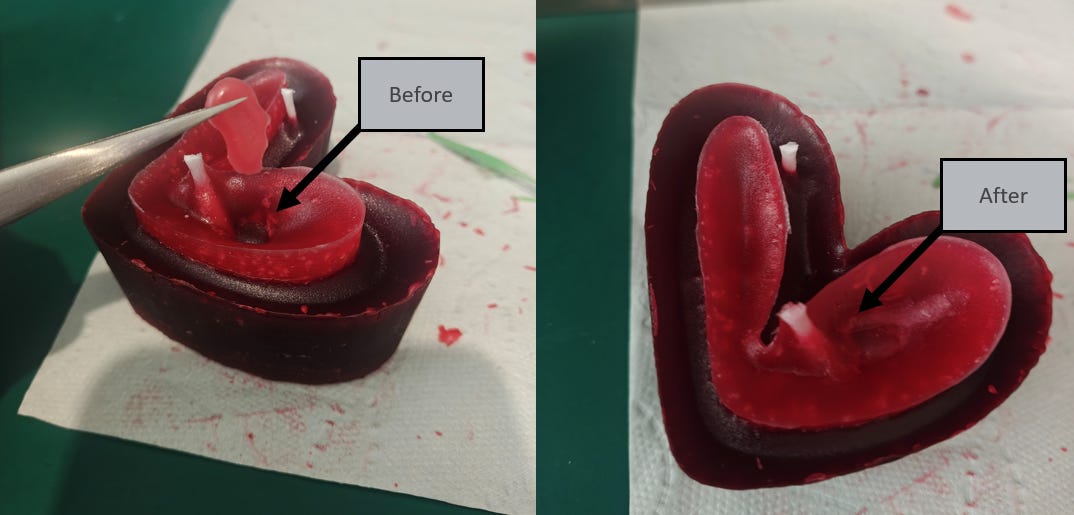
What I want: I wanted two-tone candles with the tones separated horizontally rather than vertically. This required a two-part overmolding process: mold and make one candle, then insert it into a second mold and pour the second candle around it.
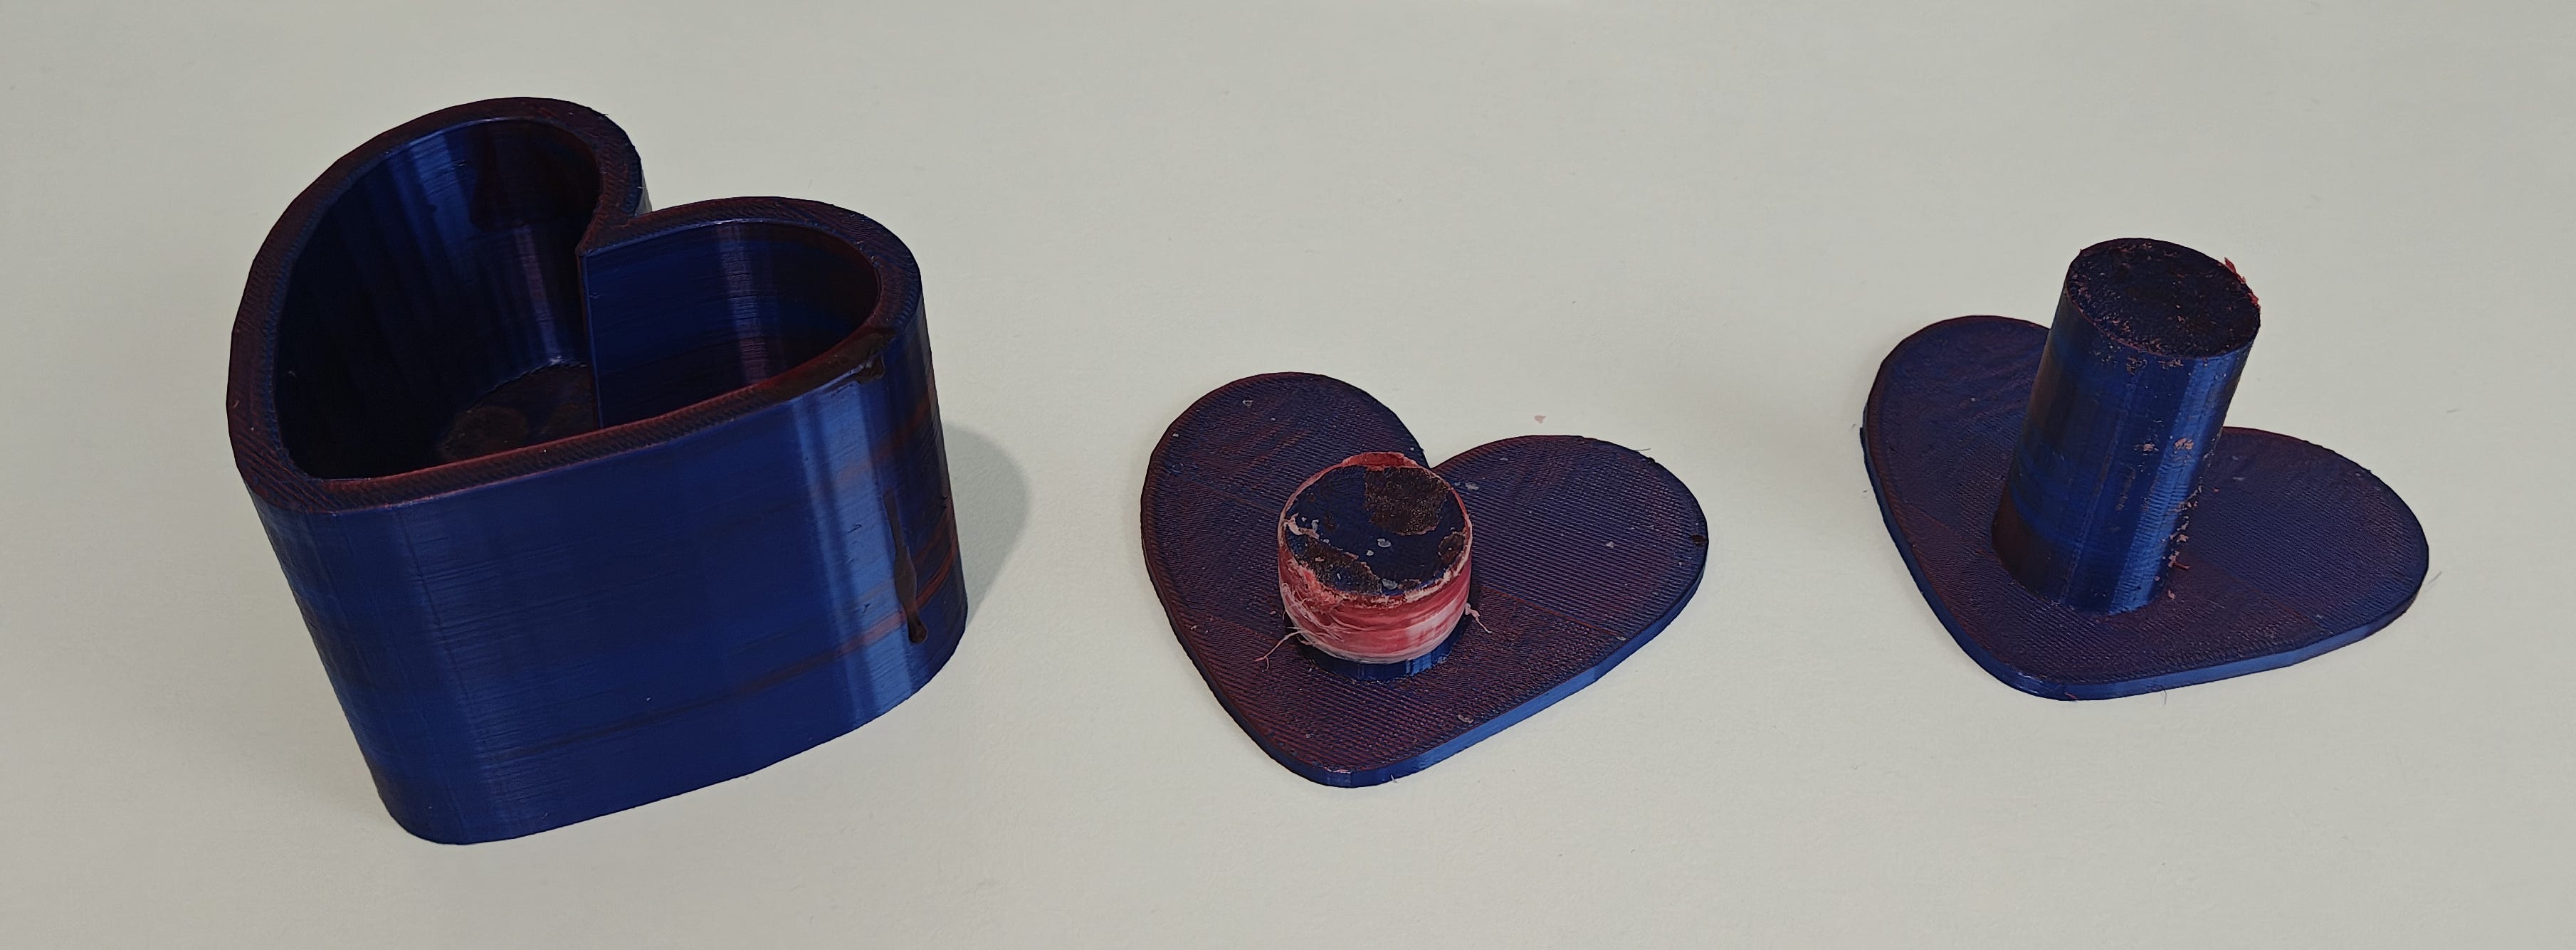
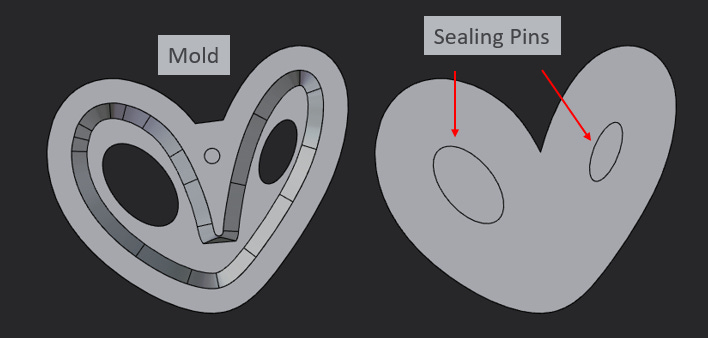
Mold Design: I first designed the candle shape in 3D, then designed the mold using that shape. The mold consists of a cavity and a sealing pin. Once the wax sets, the sealing pin is removed and an ejector pin pushes the candle out.
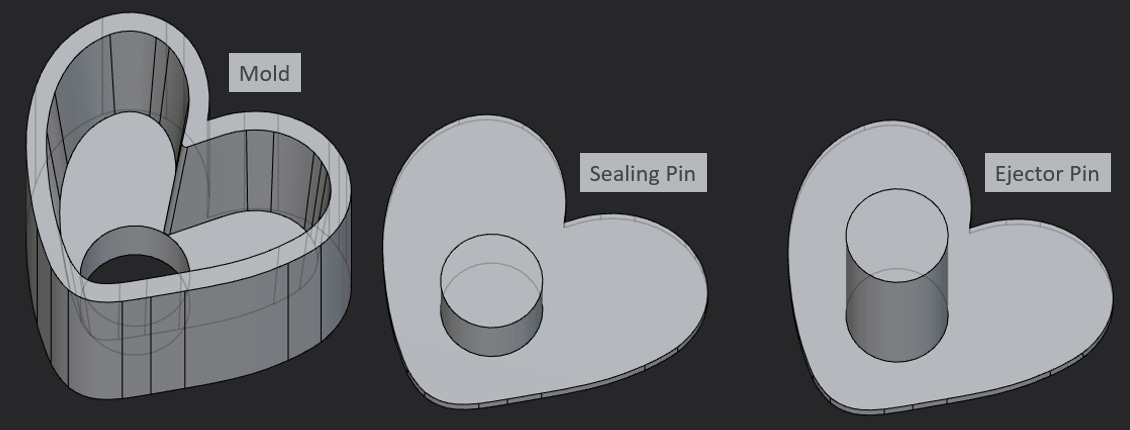
Sealing Pin: In practice, I left a bit of space and used Teflon tape around the sealing pin because a plastic-to-plastic hard seal would be less reliable and harder to remove.
Sealing Pin Shape: Use a circular-ish sealing pin shape - complex shapes are much harder to seal with Teflon tape. It doesn’t have to be a perfect circle; the shape below worked fine.
Ejector Pin Surface Area: The ejector pin needs as large a surface area as possible; otherwise, it just indents the wax.
Mold Material: PLA and PETG were easier to work with. I tried TPU, but it was prone to air bubbles from moisture in the filament, which caused leaks. I could have dried the filament properly, but that seemed like more effort than it was worth.
Print Settings: Standard print settings will leak. To get a watertight mold, I increased the wall loops to 5 and used slight over-extrusion (a flow factor of 1.05 for PLA and 1.02 for PETG).
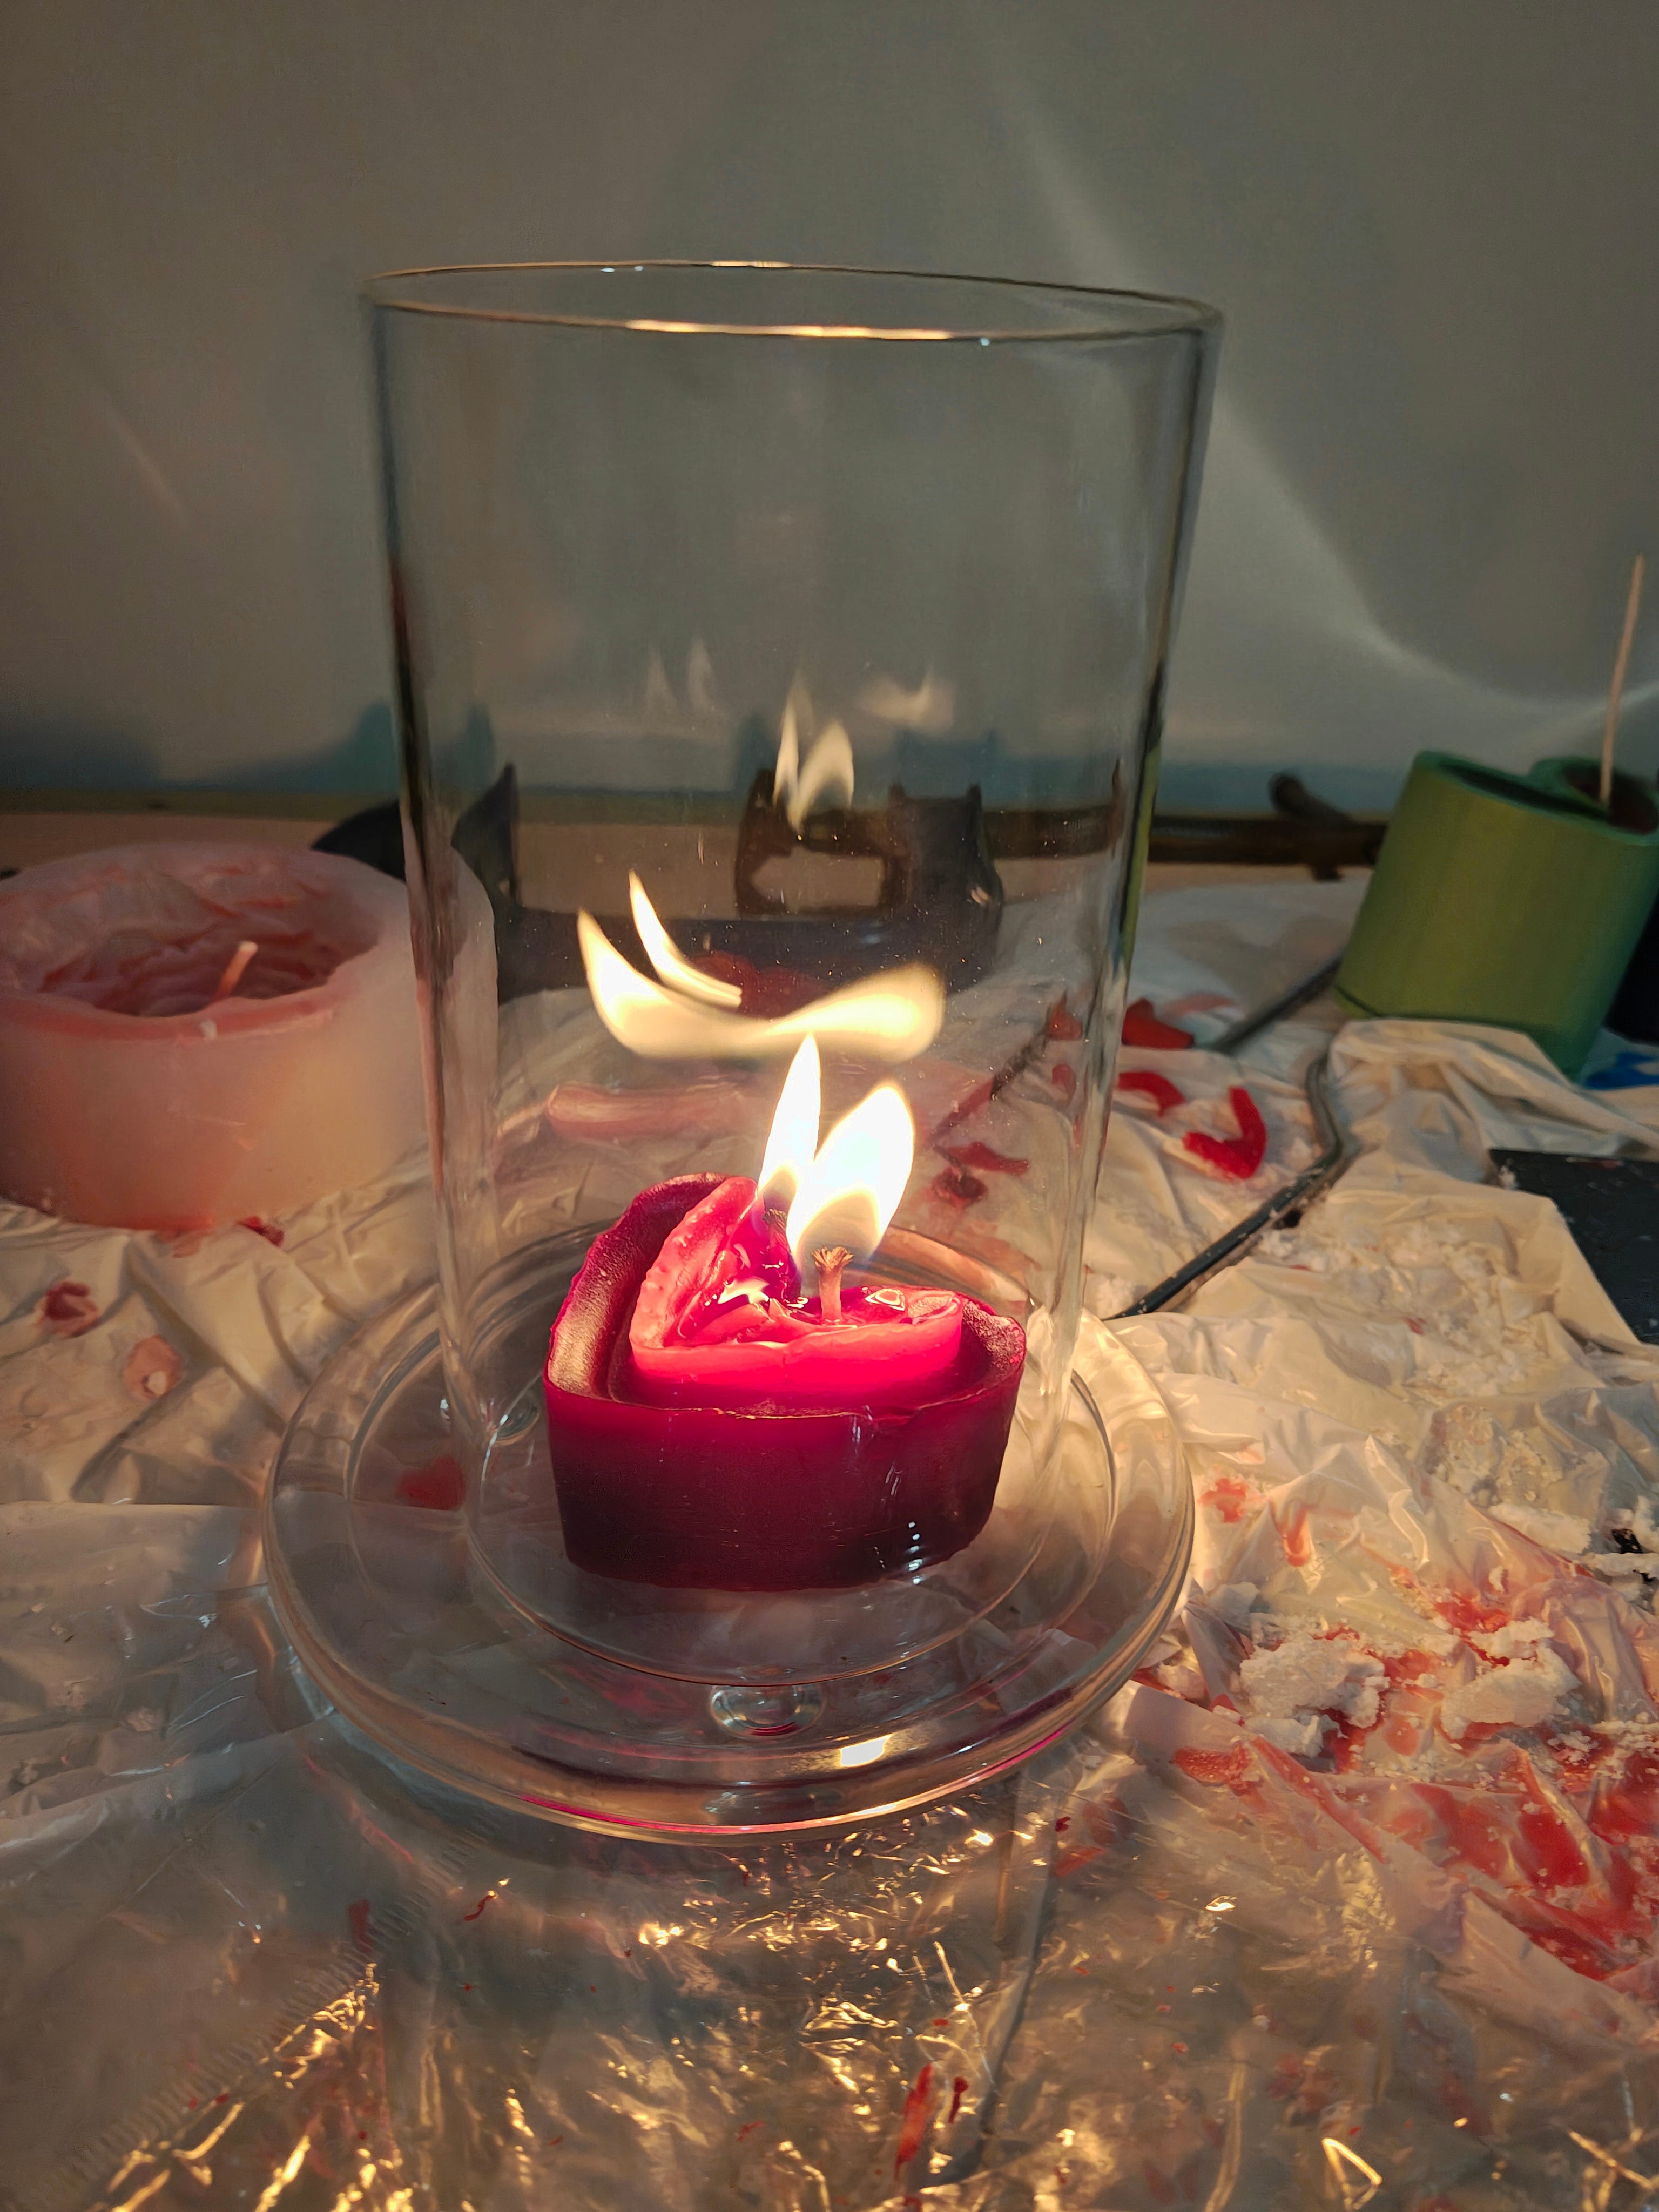
Couple images from the process:


Other Learnings
Wick Size: I was surprised by how much this matters - there’s more to candle making than I thought. There’s a subtle balance of wicking speed, material constituents, etc. I don’t fully understand it yet, but it was fun to get a glimpse into what’s going on behind the scenes in candle design.
Wax Additives: A hardening agent helps with mold release, improves shrinking, and makes the candle harder and easier to work with. I added 2% stearic acid by weight to my paraffin wax. Apparently this also improves opacity, fragrance retention, etc. Not really sure about the details on this. As I said, there’s more to candles than I thought!
Draft Angle: An 8-degree draft angle worked well for ejecting the candle. 2 degrees were too hard to eject.
Cooling Time is Critical: Wait for the wax to cool and shrink. Ejecting after three hours resulted in high ejection force even with 8 degree draft, launching the candle halfway across the room. After waiting overnight, it just needed a gentle tap.
Mold Release: I used a paintbrush to apply oil onto the 3D printed mold as a release agent.
Excess Wax: Don’t throw away wax drippings - they’re useful for repairing cosmetic defects like sink holes. I used a hot air gun to drip wax onto the problem area and fix it.