What is it?
Battery powered portable lights that can sync with one another and sync to the music. I think it's cool that portable speakers have become so common that you can organize an event in fairly remote locations and have decent music. I think it would be cool if the same were true of lights.
This video below shows what the setup looks like for now - the hardware works fine but now I need to spend some time experimenting with different effects to see which ones look good together. A couple interesting effect combinations from my testing are shown below.
I also found this setup looks best in the dark but I haven't been able to figure out how to use my phone to record it without overexposing parts of the video - apologies!
Why did I make it?
The main aim was to have something simple and easy to carry to an NYE event. Initial plan was to just make one but after I made one I realized it would be way more interesting if there were a bunch of them synced up (4? 10? 1 million? Not sure).
I am quite into music and thought this would also be interesting to set up during performances just to add a bit of visual interest.
Process
For this project I wanted results quickly so I made sure to view it as an integration project rather than a development project. This made it feel like I sidestepped everything technical and so I almost don't want to write about it. Except I think making things work while avoiding the difficult bits is also an important engineering skill - so here we are.
There were still some hiccups along the way. One fun issue I had was a shipment got lost on the way so to get one unit ready in time for an event I had to use a Pi Pico solely as a voltage regulator to power an ESP32 because the Pico dev board had a wider input voltage range (unfortunately doing that type of thing is my idea of fun). In any case - the hiccups are irrelevant to the outcome so let’s focus on the final design.
Here are the different components that were used to make each light:
The Xiao ESP32 S3 (https://wiki.seeedstudio.com/xiao_esp32s3_getting_started/) is the selected dev board. The Xiao is a tiny little development board that is designed to be able to run off battery voltage levels which is very convenient.

I used an 18650 cell because they're easy to source and can be easily charged in an external charger so I don't have to bother adding fast charge into the device (though there is a backup slow charger that comes "free" with the Xiao - good to have for after the event where you can just plug in a USB C cable and let it charge overnight)

The 18650 holder has a protection circuit built in.

There's a switch that connects and disconnects battery power from the circuit for to quickly toggle power to the board.

I found WS2812 LED boards that had LEDs arranged into concentric circles and came with wires to connect them up together. Very convenient but the wires are longer than I'd like. They are rated for 5V but work just fine off battery power (saves the cost / space / current draw of having a boost converter on board)

And there's an INMP441 mic that operates off the 3V3 of the Xiao board and communicates with the ESP32 over I2S.

WLED - Open source software which has been amazing to get this up and running quickly. It allowed me to quickly experiment with different light effects and start working out what looks good together. Huge thanks to the WLED contributors. Link if you'd like to learn more: https://kno.wled.ge/

Chassis / diffuser - I created some rough designs for the housing and 3D printed them. There's a hook to be able to hang the lights as well as prevent it from rolling off if it's placed somewhere.

There's also a detachable light diffuser.
No diffusion looks cool if the brightness is turned down / if it's still daytime / or it's facing away from the viewers since the environment then does a decent job of diffusing the light. Here's the same effect with and without a diffuser.
The slicer settings used to 3D print the diffuser were quite important - different infill settings make the lights feel slightly different and for now I have settled on the infill method shown on the right in the video below. I think there's still room for improvement here.
Here's a rough connection diagram:

Another Variant
My mom liked these and wanted to take a couple to a monastery she volunteers at. I made a non-battery powered version to give to them since I was a bit concerned about these being used in the rain or thrown around and didn't want anyone to take on the associated safety risks. These are powered by USB-C and if they want it to be portable they can of course just plug it into a power bank so it's still good enough for their use case. Since I didn't need the battery capabilities of the Xiao here I went with the Waveshare ESP32 S3 which worked fine as well.
What's next?
Custom PCB?
I am wondering whether I want to spend the time putting this down onto a PCB so I can make way more of these. Tempting. Right now the assembly is manual and being able to put everything onto a PCB will make things a lot simpler to assemble. I should probably do the lights and the WLED control board as two separate boards that way I can have different light attachments that can be swapped out for different events.
Not sure it's worth the time as I don't know if I want more of these so I will first start using the few that I have built so far and then decide whether I want more.
Human Input
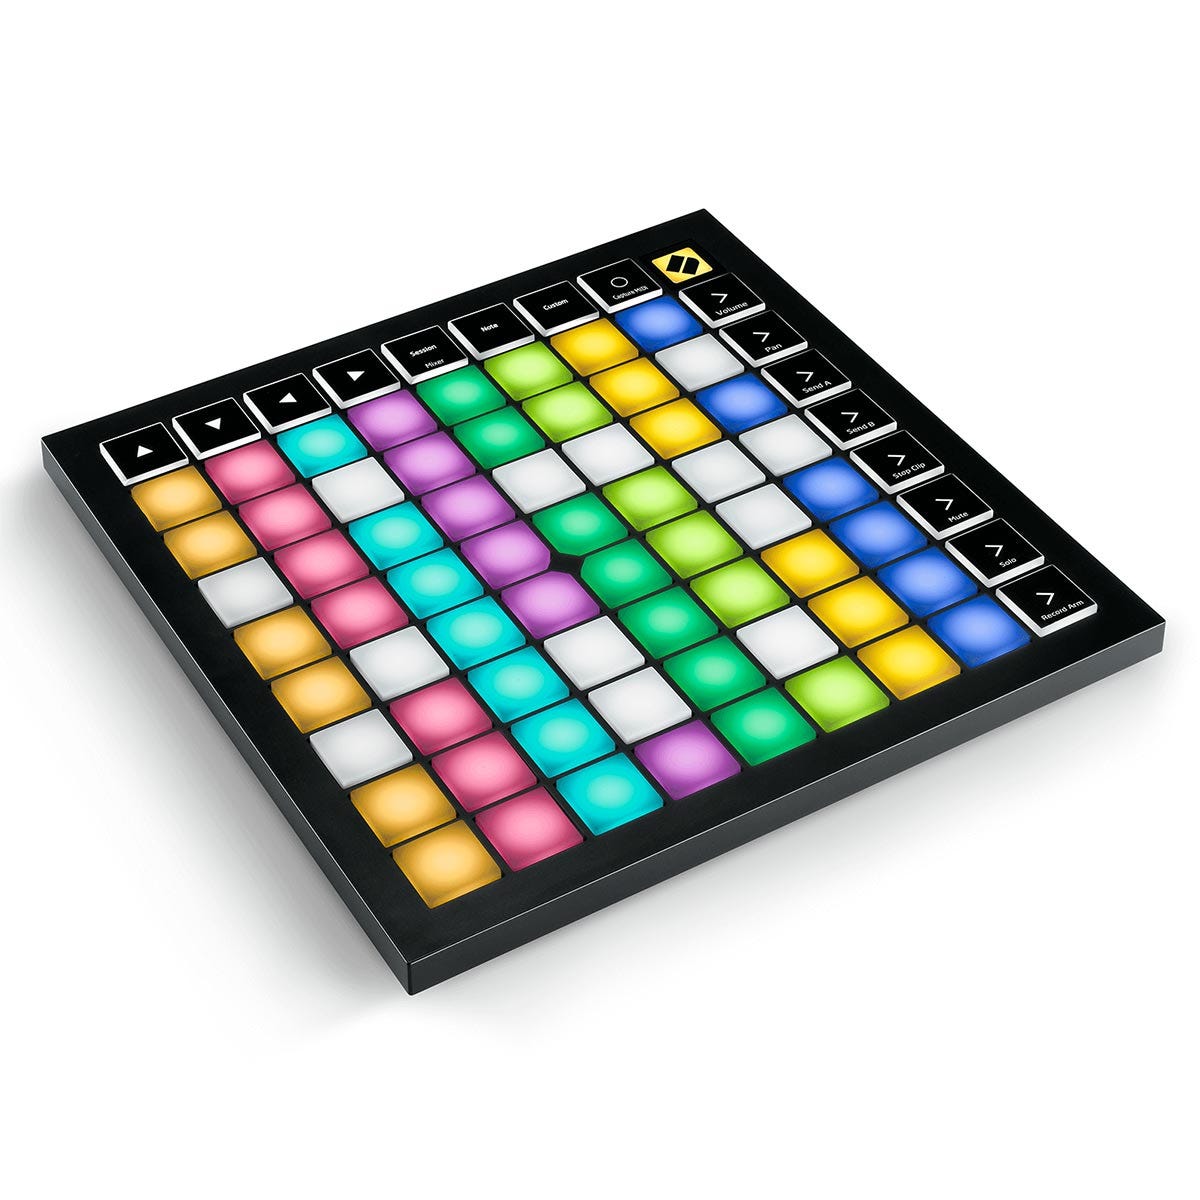
I think it would be very cool for me to be able to “play” the lights as an instrument by playing a 8x8 MIDI controller like the one below (for anyone unfamiliar with what’s shown below - it’s traditionally used to play music and is similar to an electric piano but in a different form factor)